| Today I am going to teach you how to make swags for above windows, doors, etc. These are for hanging, you could possibly use them for a shelf or table, but part 4 will be much better for that. | 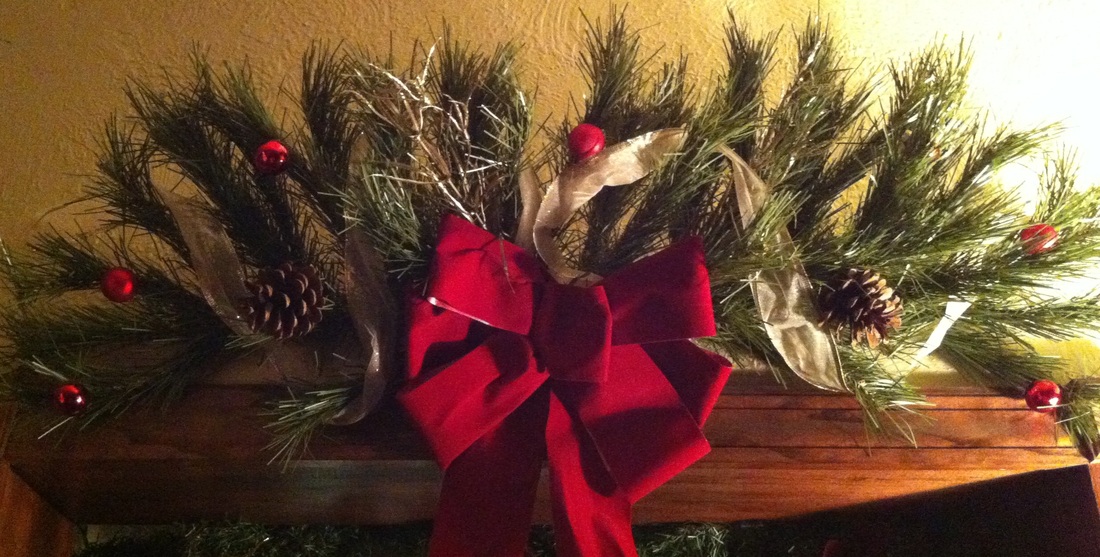 |
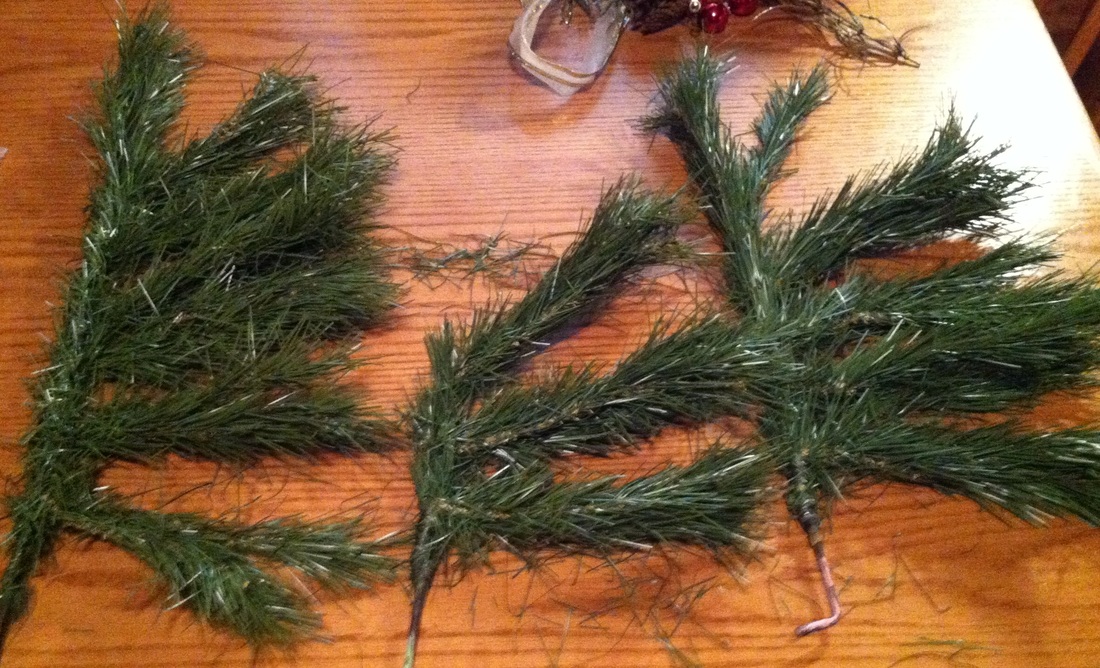 | Assuming your branches are in relatively good shape, select a couple (I generally use 2-4 depending on how full the branch is). Today's demo I am using 3 and they are different sizes. I usually 2 of a large size and 2 of a small size. But this can show you how to work with just about any branches. Flatten your branches so that all the needles come off one side (as shown to the left). |
| Next I overlap the ends of the largest 2 branches. | 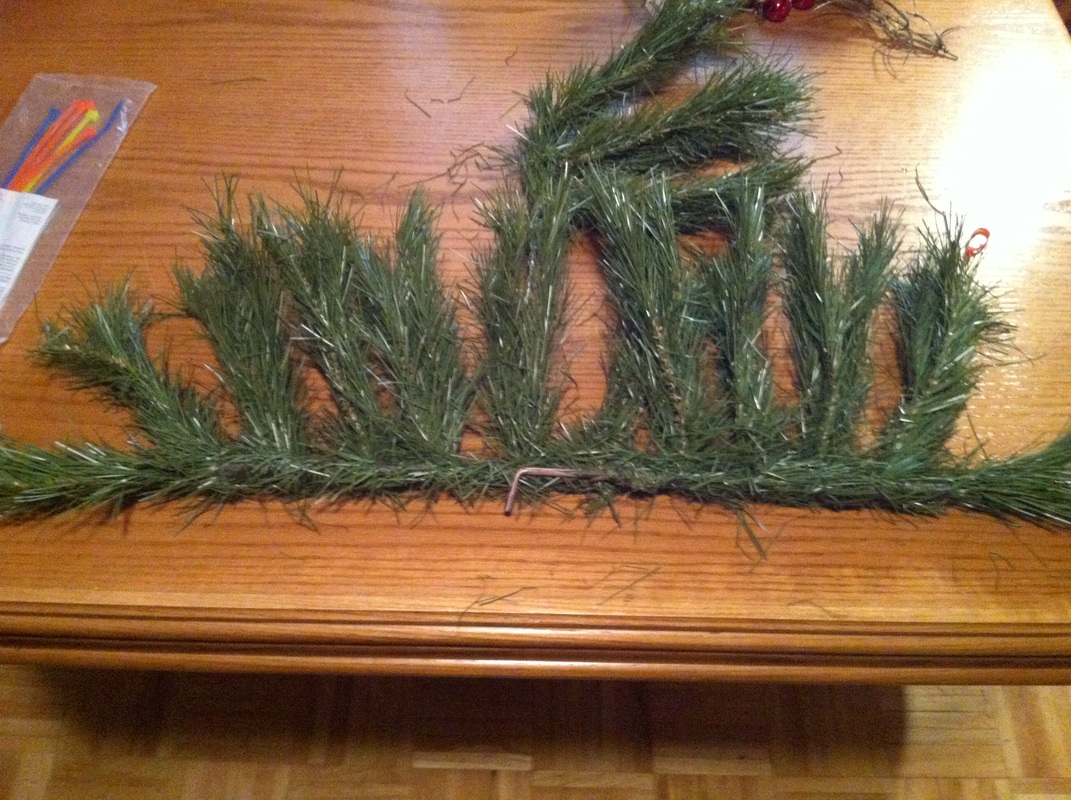 |
 | Then the smaller branches I do the same with but the needles pointing the opposite direction. Here with only one small branch, I line it up with the middle. |
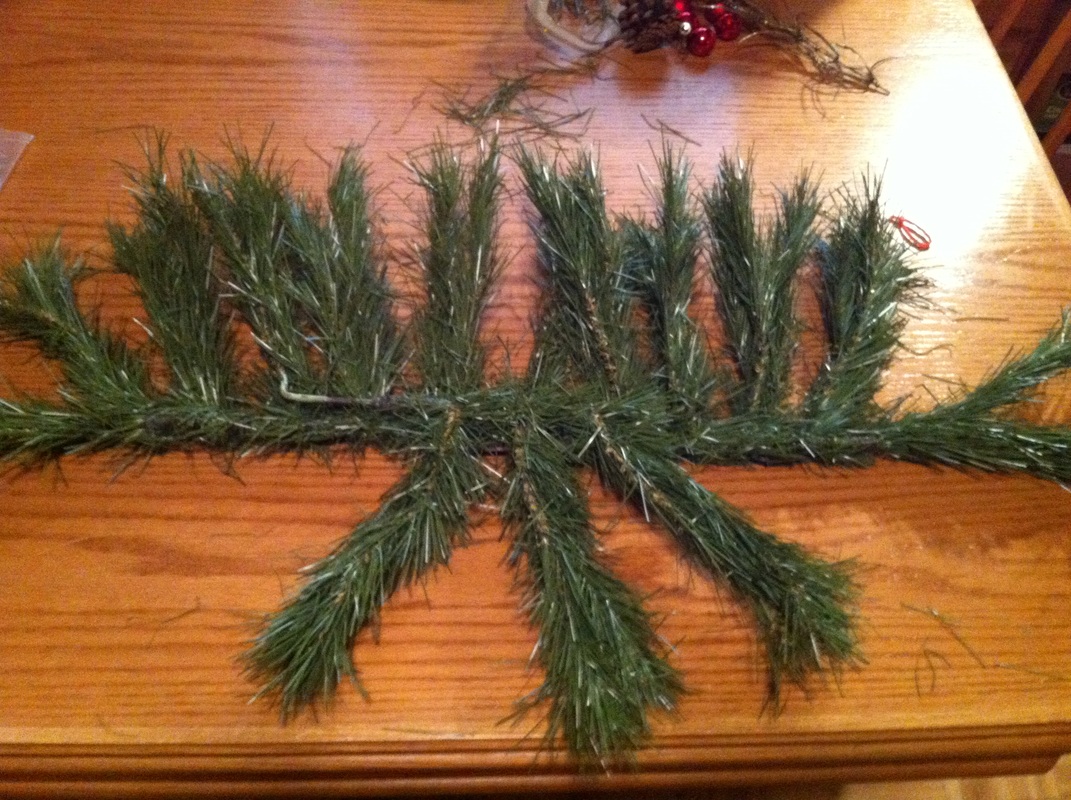
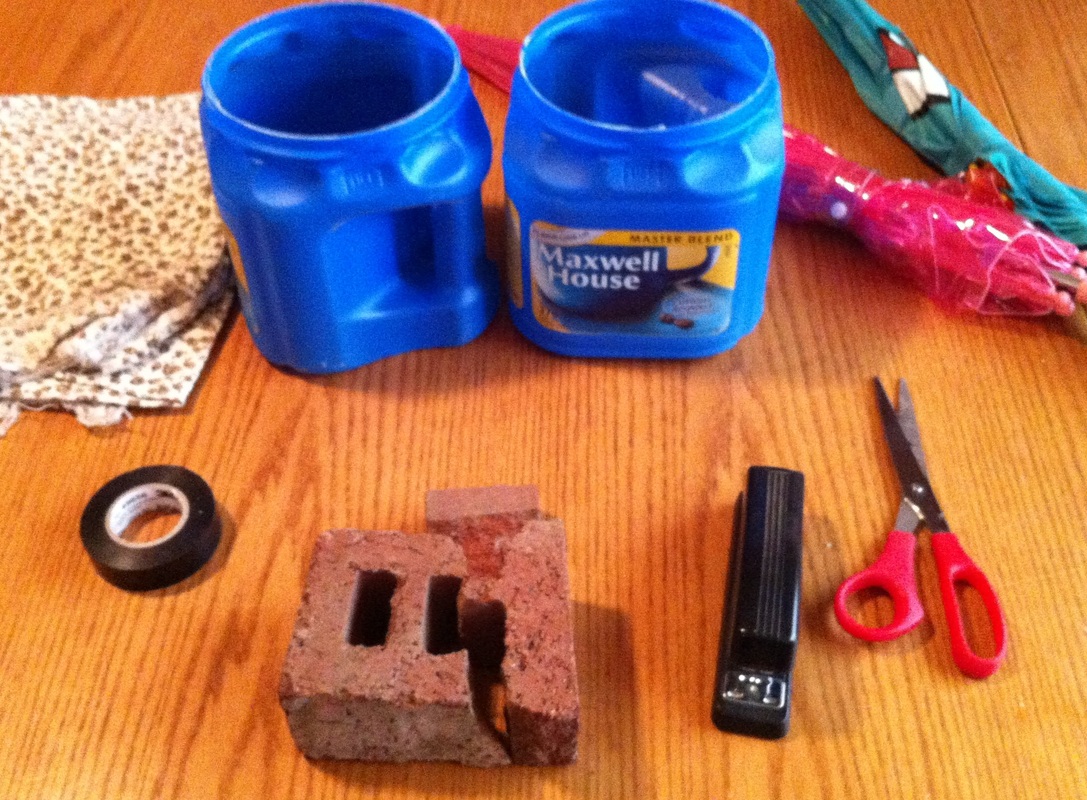
| I use zip ties to secure the branches together. Usually I would use small black ones so they are better hidden, but I wanted you to be able to see them. I also add a zip tie loop to the middle tie for hanging. If you have trouble with the weight or if it won't sit correctly, you can add addition zip tie loops for hanging. You can also use wire ties, but I find the zip tie to secure much better and it never comes loose. | |
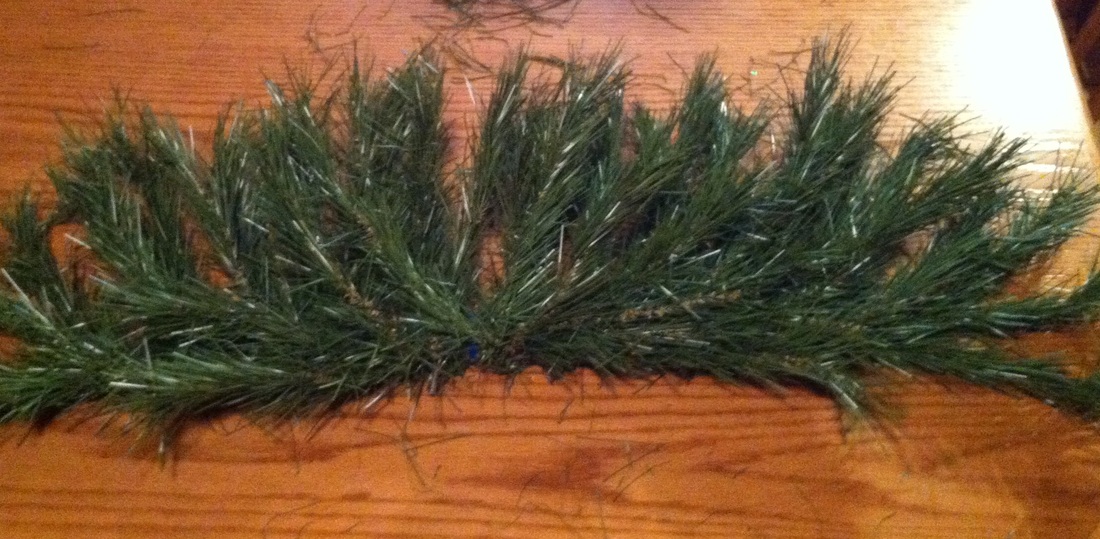 | Next is fluffing. Fluff the branches to the vision you have in mind. Sometimes I leave the small pieces to the lower side so it gives a more oval shape. Today I swept them to the top because there were not enough to create the oval shape (requires 4 branches to start). |
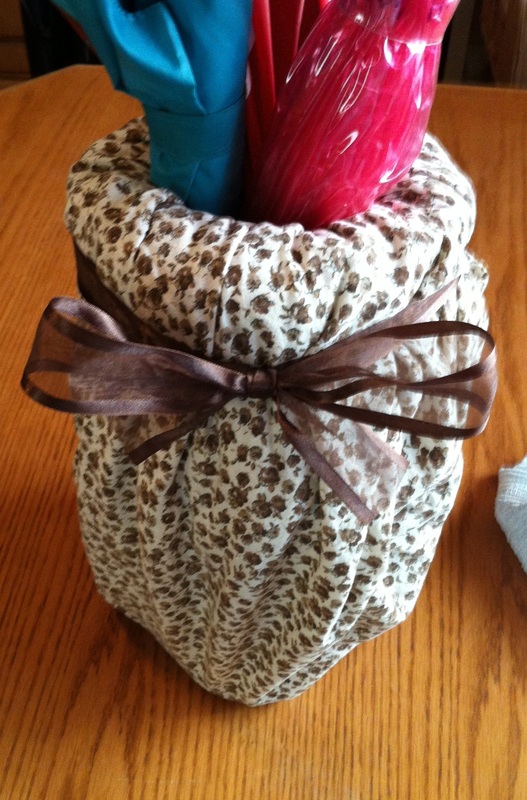
| Now add your embellishments…ribbons, ornaments, bows, pinecones, fruit, birds….whatever your thing. I try to use things I can secure with a wire or wrap around. This is an old habit because I had to take these apart every year to store them. That is also nice…these are easily broken down. This means you can change them up or refresh them each year. I would make 8 or so every year, it would take me about 2 hours…including hanging them. | 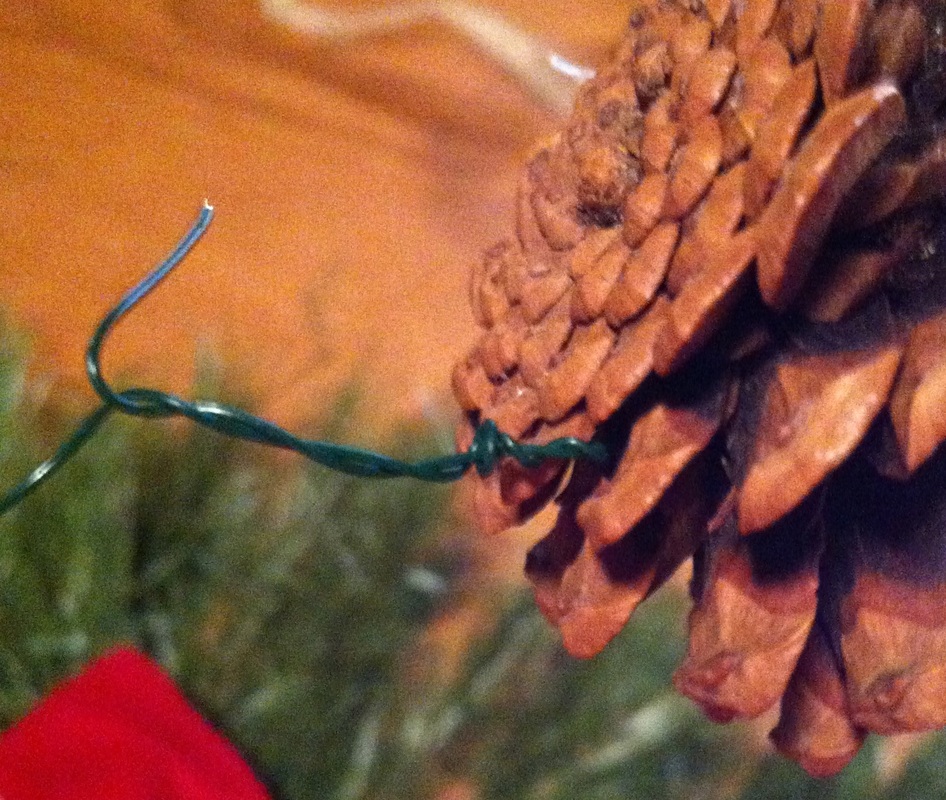 |
| Once you finished with the embellishments, you are ready to hang. These are simple and do not require much skill. They can be very inexpensive to make and most likely you have most of the materials at home already. You can get items to decorate 2-3 for less than $10 in any arts/crafts or dollar store. | |
Another decorating tip, you can wipe the pine tips with glue (or use spray adhesive) and dip into glitter or snow flakes. You can also use a sponge dipped in paint to add color to the tips (like gold, silver, white….whatever).
| I made a dozen of them for my home from my first christmas tree. The total cost was about $30…thats $1.50 each. It all depends on your embellishments. The image to the right is from Home Depot online, and it retails approximately $30. | 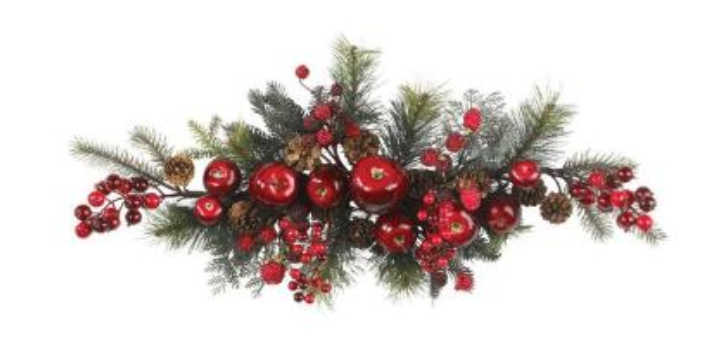 |


 RSS Feed
